Sunday, December 7, 2014

Frozen Birthday Party

The studio has been rocking and rolling for over two years now and we have seen some adorable birthday parties! Frozen has been a very popular theme this year for sure. I just had to share pictures from the Frozen party from this past weekend. The girls had a wonderful time and were just too cute!

We have lots of projects to choose from for this party and the birthday girl went with the picture frame! Guests used Modge Podge, a variety of blue scrapbook paper and snow flake jewels and sequins to create their "cool" frame!


There were lots of yummy treats served, including:


In addition to the party favors, the girls also received a Frozen book (which made this Kindergarten teacher's heart oh so happy!). Here are their finished frames!


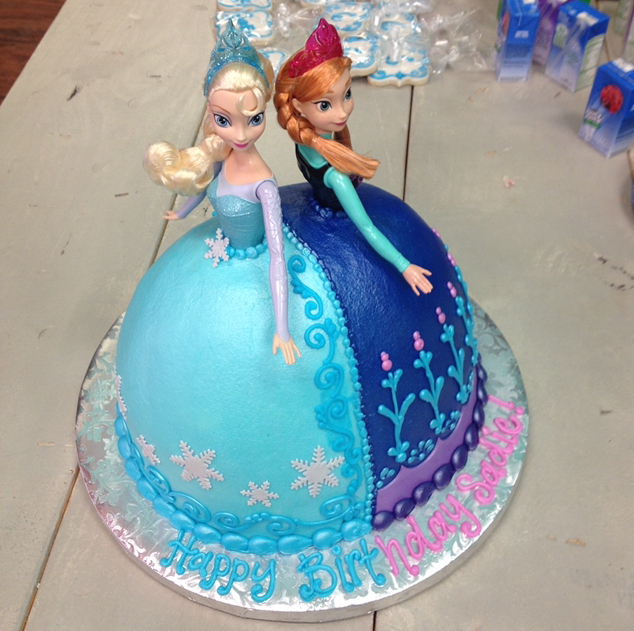
I also had to include this cake that has made several appearances in the past. This is made by Peace, Love and Cakes in College Station, TX.


As well as some of the crafts from other parties:

 Taped Snowflake Canvas Painting


Princess Tiara, Snowflake Princess Wand, & Ice Princes Cape

Birthday parties are always a fun time at Artastic Craft Studio!


Friday, December 5, 2014

Glittered Reindeer Ornament


For the past year, I have been writing DIY articles for our local paper. This was the latest project that was featured! To view the original articles, you can see it here. The holidays are quickly approaching which means a couple of things – time with the family, yummy food, presents and NO SCHOOL! While the teachers are enjoying their time off, you are left with hours upon hours to fill and keep the elves entertained. These DIY glittery ornaments are a fun way to add a little sparkle to your tree without all the mess that a glittered ornament likes to shed (think those ornaments that keep on giving).  The best part – the glitter is contained to the inside of the ornament! This project is a fun way for kids to not only help with the tree, but to also make affordable gifts for friends and family that are made with love. 

Materials:
clear glass or plastic ornaments (seasonal aisle of craft stores)
Pledge Floor Care (found with the cleaning supplies)
Fine brown glitter
black paint
red buttons
hot glue
22 gauge brown wire (jewelry making section of craft store)
decorative ribbon
Plastic or Styrofoam cups come in handy to prevent your ornaments from rolling away.


Glittering the Ornament
Carefully remove the top of the ornament. Squirt Pledge Floor Care into the inside of a glass ornament and make sure the entire inside is coated by rolling the ornament. Drain liquid (I reuse it) and add glitter using a funnel. Gently coat the inside with glitter and empty excess glitter out of the ornament. Be sure not shake it so glitter does not clump.


The Eyes & Nose
Using black paint, paint two eyes about 1/3 of the way from the top. Use hot glue to glue a red button 2/3 of the way down from the top. When using hot glue on glass, make sure to place the button quickly after applying the glue.


The Antlers
Using Brown 22 gauge wire, cut one 9" piece and two 5" pieces. Wrap the middle of the long piece of wire around your finger twice to make a loop, making sure the remaining ends of the wires are even. Using one piece of the short wire, fold it in half and twist and intertwine it with one side of the long piece. Repeat on the other side using the other piece of shot. Roll the ends of the wires into a curled shape and adjust to your preference. 


Finishing Your Reindeer
When the eyes are dry, carefully replace the top of the ornament and place the loop of wire you had around your finger around the neck of the ball and tighten. Use a dot of hot glue to secure. Tie a bow with your ribbon and attach with hot glue.


While this reindeer is precious, your options are endless! I have included a couple of my favorites that have been done in my studio.


Any color of glitter with a coordinating ribbon can add a simple but elegant touch to your tree. And the best part - these ornaments will last from year to year without losing any of their sparkle!

Wednesday, February 12, 2014

Valentine's Crazy Straw Tags

I am absolutely TERRIBLE about posting on the Artastic blog, but between the studio and teaching Kindergarten, I stay very busy. Valentine's Day is soon approaching and I wanted to do something fun for my class.  I was at the Dollar Tree yesterday and saw packages of 6 crazy heart straws (for $1 of course). I thought they would make a great little Valentine's Day gift for all of my little sunshines and created these adorable little tags that say, "'Sip, sip' hooray for Valentine's Day! Love, Ms. Kristin."


Because I love them so much, I went back and deleted my name off so I could share these cute tags with the rest of the world. The tags are about 2"x3"and are four to a page. I would recommend printing on white card stock for best presentation.

Download the tags here. (File is a PDF)

Then just print, cut, and hole punch. I recommend writing the names in the pink oval part at the bottom of the tag prior to inserting the straw.  I also added a piece of tape on the back to secure the tag to the straw. 

Hope you love these tags as much as I do. The best part of these? These Valentine's for my whole class cost just $2 and were definitely made with love!

Happy Valentine's Day!

XOXO

Kristin